Step 1: Prime Your Eyes
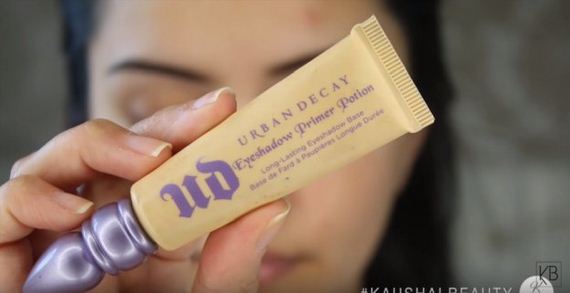
After grooming your eyebrows, prime your eyes with a matte primer that evens out the skin tone on your eyelids. This tutorial uses Urban Decay’s eye primer and pushes it evenly on the lid.
Step 2: Start with a Nude Base
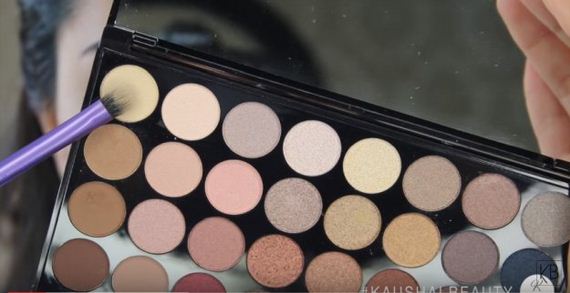
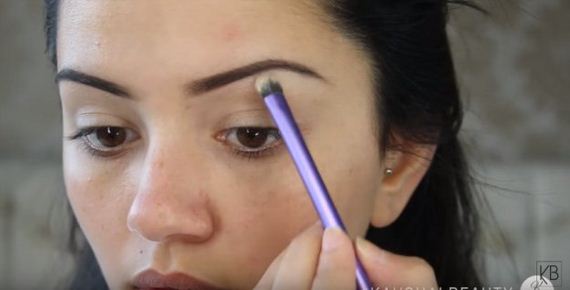
Start your eye makeup with a nude base using a creme colored matte eyeshadow matching your skin tone and apply to the brow bone area.
Step 3: Transition Color
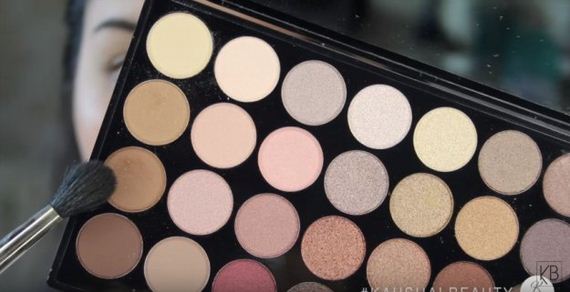
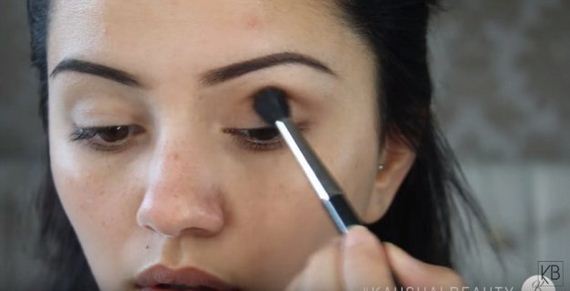
After creating a nude base on your eye, start defining your eye by applying a transition color such as the light brown eyeshadow used in this tutorial; and apply it along the crease.
Step 4: Depth and Dimension
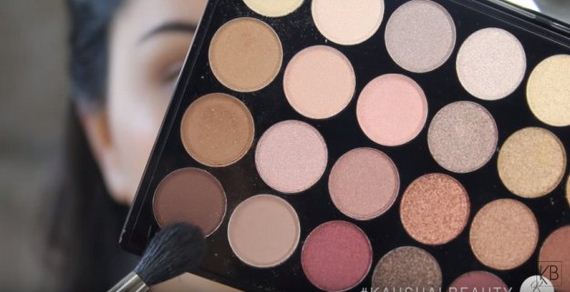
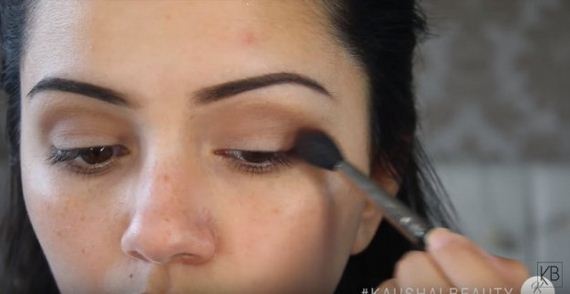
Now, you can start giving depth to your eyelids by picking up a darker brown color and sweeping it along the crease area but concentrating on the outer V portion of the eyelid. This opens up your eyes and brings it higher for a more wide-awake look.
Step 5: Top Shadow
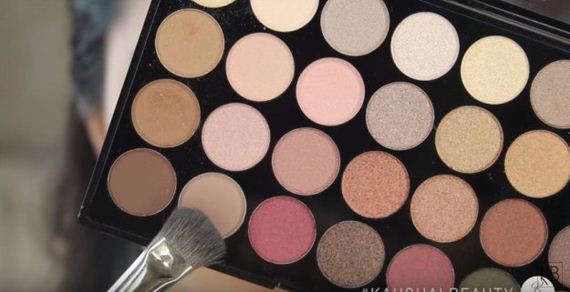
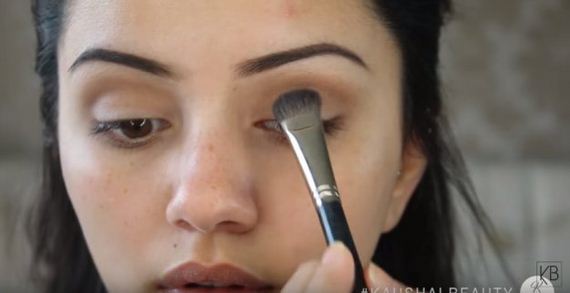
For a real Kylie Jenner inspired look apply a neutral brown eyeshadow to your lids, aside from mostly wearing mattes, she seems to be fond of wearing a lot of browns on her eyes, so on this tutorial, Kaushal Beauty used mostly different shades of brown.
Step 6: Detail Work
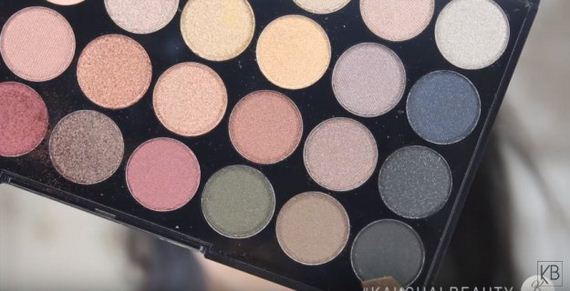
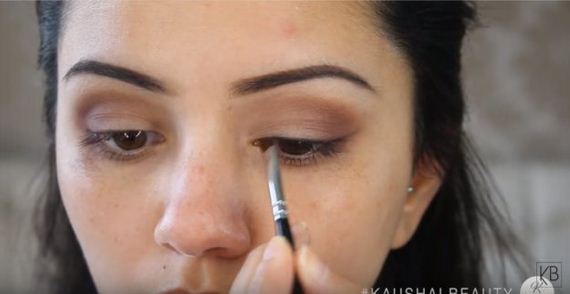
Now that you have most of your eye makeup done, pick up a liner brush with a black shadow and sweep it along the lash line slightly bringing it up to a wing on the outer V of your eye. This also helps to bring your eyes up but also give you that flirty, feminine flick.
Step 7: Tight Lining

Give your eyes the illusion of thicker eyelashes by tight lining your eyes with an eyeliner by running it along your upper waterline.
Step 8: Detailing
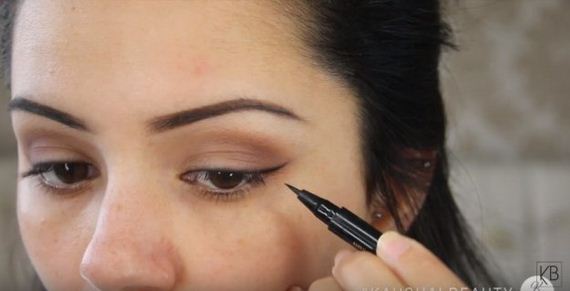
After you mapped out the black shadow on the lash line, line your eyes with a liquid liner only on the outer corner, not even reaching up to the center of the eyes, more like a tail sort of.
Step 9: Finish Off with Mascara
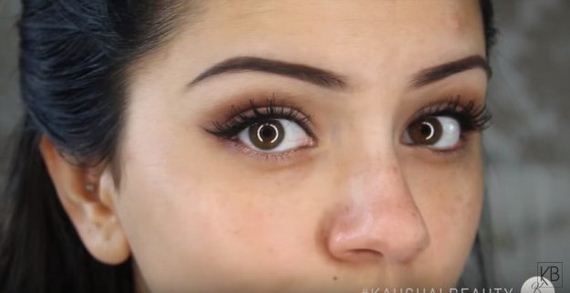
Finish your eye look with Mascara for a full on glam effect on the eyes, you can also use false lashes as necessary. Depending on your eye shape, this is how your eyes should look like. You can also apply a dark brown eyeshadow on the lower lash line to give your eyes a rounder and more deep-set look. This tutorial did that by using a liner brush and sweeping the color lightly under the lower lash line.
Clean up any fallouts and move on to covering your face base.
Step 10: Foundation
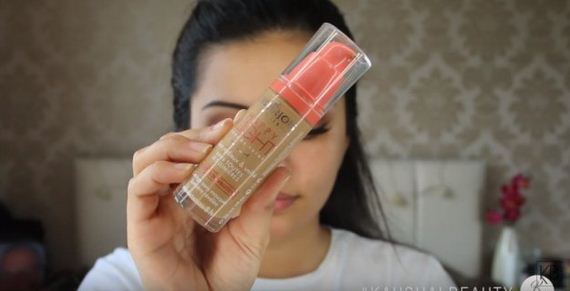
Even out your facial skin tone by using a foundation all over.
Step 11: Correct and Conceal
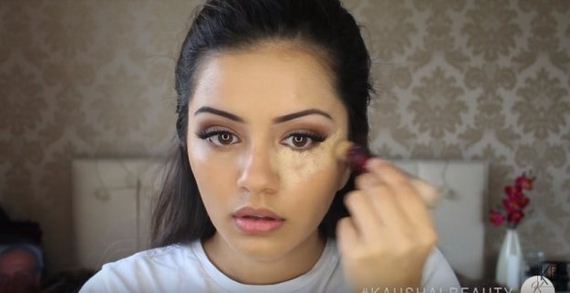
Conceal unwanted marks with a concealer. Applying concealer and brightener on the undereye area in a V-shape manner, not only conceals dark circles but also brings the inner cheek forward creating an illusion of a more proportioned face.
Step 12: Set Your Concealer
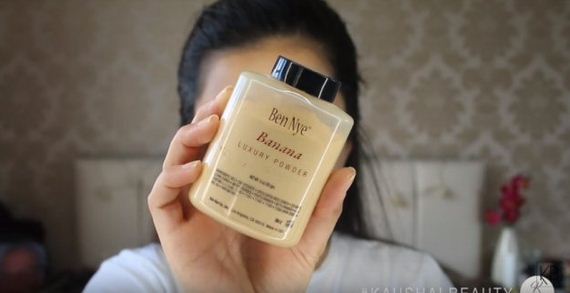
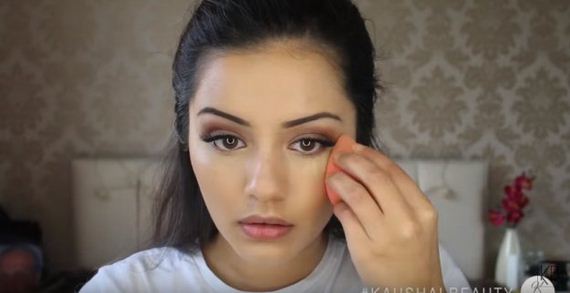
Apply a setting powder on the concealed area to prevent it from creasing. A translucent powder works best, but in this tutorial, the Ben Nye Banana powder is used to highlight the under eye area more.
Step 13: Contour and Highlight
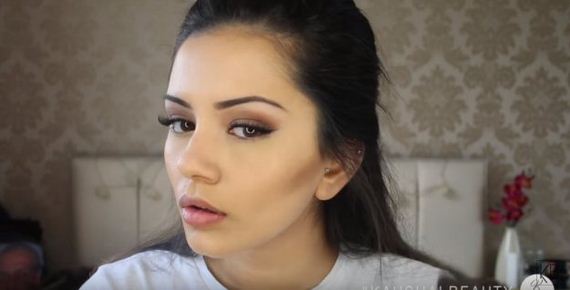
Contouring is all about creating a shadow on your face. Using a contour powder, brush from the top of the ear to the corner of the mouth but only ending a little past the line where your eyebrow ends. This slims down your face without creating a weird line on your cheek. Blend, blend, blend.
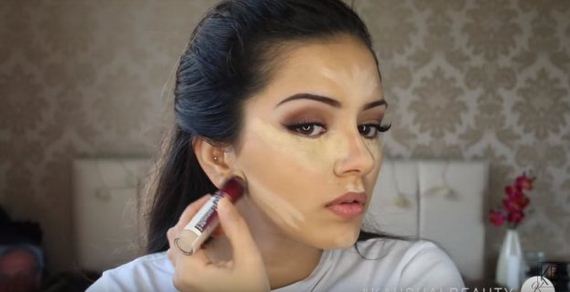
Highlighting the higher planes on the face seem to be part of Kylie Jenner’s makeup routine evident in her sculpted face, this tutorial shows us how to do that by applying a cream highlighter or a concealer along the nose bridge, the forehead and under the cheek contour.
Step 14: Warm Up
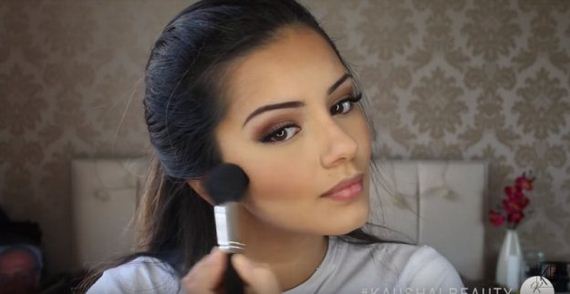
Apply a matte bronzer on your cheeks along with a light dusting of blush powder. Notice Kylie Jenner does not seem to like a lot of colors on her cheeks, so keep the blush to a minimum.
Step 15: Pucker Up
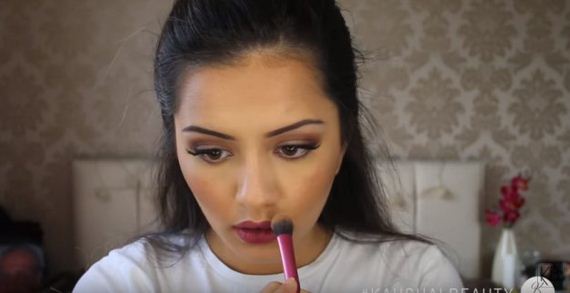
On your lips, apply a dusty rose lip liner and top with a darker dusty rose tone lip color. Sweep a minimal amount of highlight on your cupids bow for a poutier lip.
Here is the finished look:
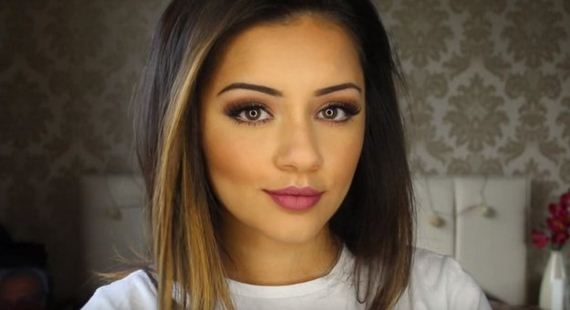
Voila! Wasn’t the tutorial easy and fun? Kylie Jenner is famous for her bold dramatic eyes and heavy contouring.
Watch Kaushal Beauty’s video tutorial of this look here:
 12thBlog Hot Celebrity Photos