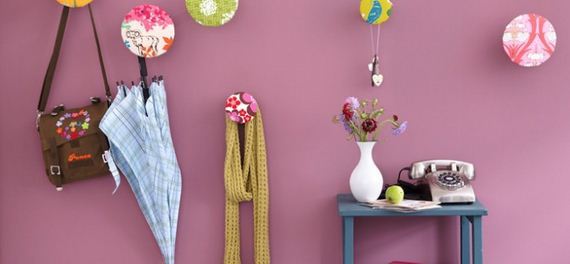
Stop tossing your jackets, scarves and bags over a random piece of furniture and organize your entryway! Use these creative DIY coat rack ideas and bring some pep to your walls.
DIY coat rack ideas – small wardrobe holders
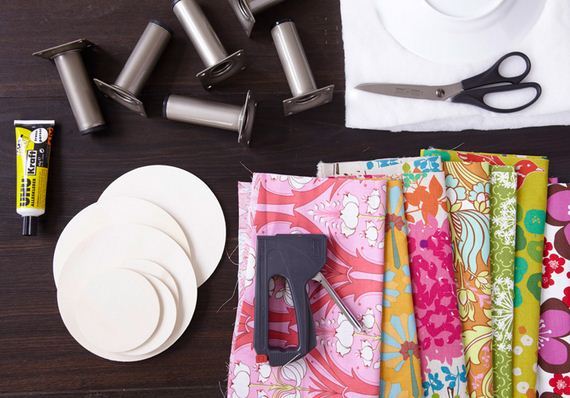
These small wall hooks are pretty eye-catcher in the hallway and can be made incredibly fast. They are also extremely practical: Whether bags, umbrella or scarves – everything has its place. What you need for this and how they are made? You are going to find out in the step by step tutorial.
What you need!
– Thin slices of wood, discs with a diameter 10 and 16 cm
– Metal table or sofa legs, about 10 cm long
– 6-7 types of cotton fabrics with different colors and patterns
– Batting
– Staple gun
– glue
– fabric scissors
– a bigger plate as a measure for the large wooden slices.
How it’s done!
Step 1:
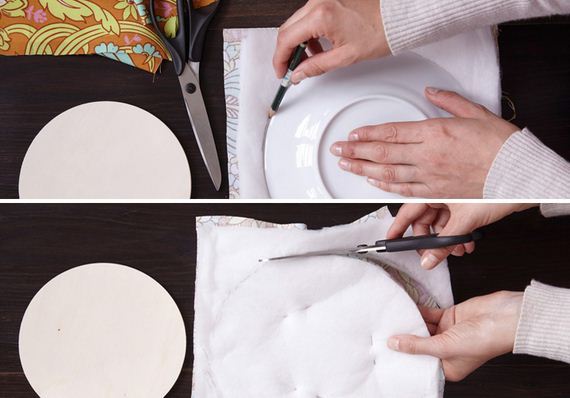
Cut out the piece of fabric and 2 layers of batting in 23 x 23 cm size. Outline with a pencil the breakfast plate on them.
Step 2:
Attach the batting with pins on the fabric and cut out all together.
Step 3:
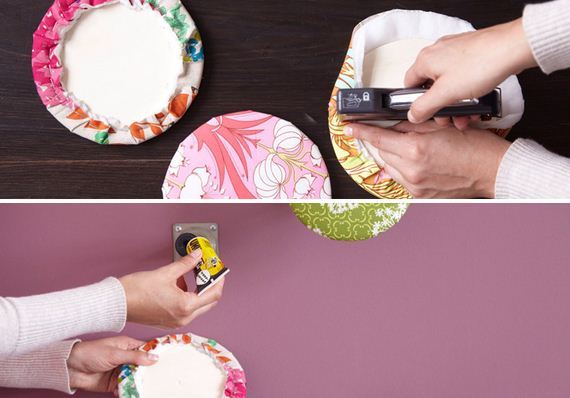
Then wrap the wood slice with the fabric and secure all layers with the stapler.
Step 4:
Screw or dowel the table legs to the wall (it depends on the wall). Glue the upholstered wood or cardboard discs to the legs and the coat rack is finished!
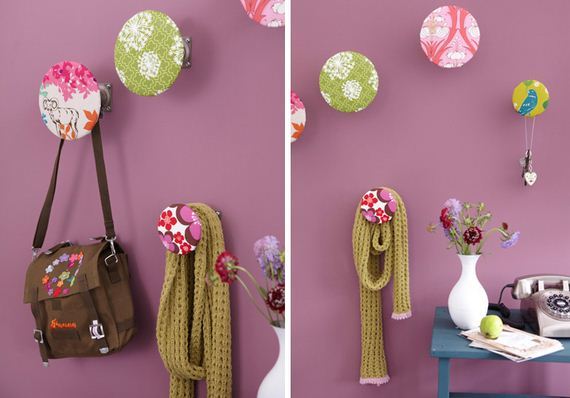
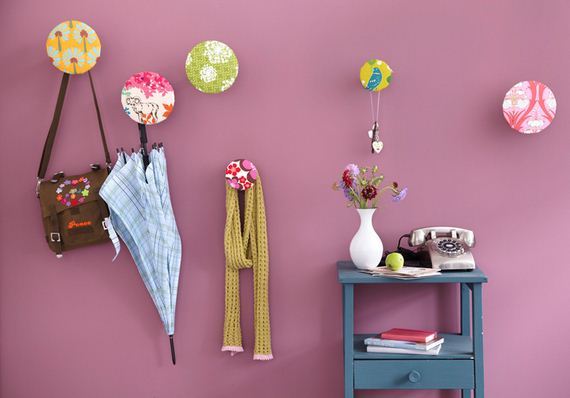
As soon as the wall hooks are attached to the wall, they are called immediately into action. Your favorite scarf as well as the key ring will find their place there and will be always at hand. But if placed in the bedroom, this pretty holder will do great, for example, as a hanging jewelry organizer.
DIY coat rack ideas – Personalized hook strip in the hall
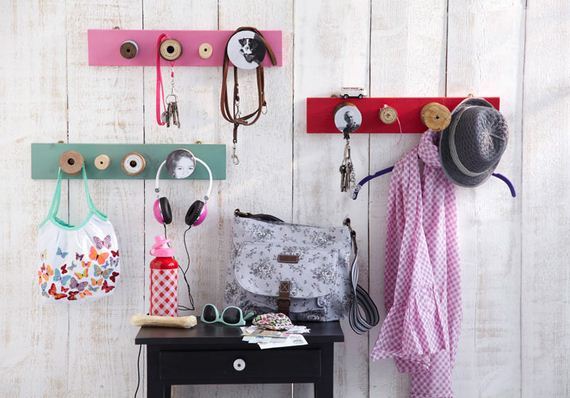
We are continuing with the next project of our great diy coat rack ideas for the hallway: the creative hook strip. For this personalized wall hook were used simple spruce boards, decorated with paint, wood spools and black and white photos of the family.
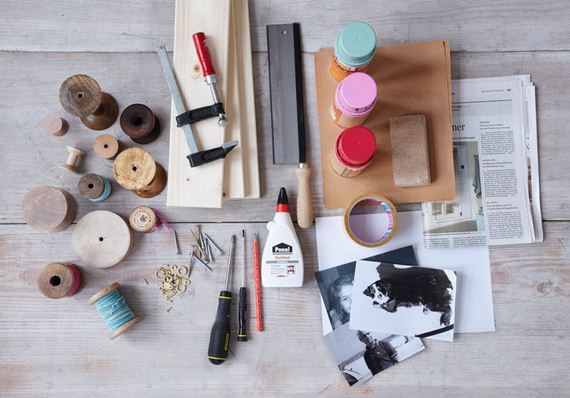
– spruce boards with smooth edges
– wood glue
– sandpaper
– screws in various lengths to support the wooden spools
– wooden spools
– spray paint cans
– old newspaper
– white paper
– two-sided adhesive tape
– pencil
– photos
– screwdriver
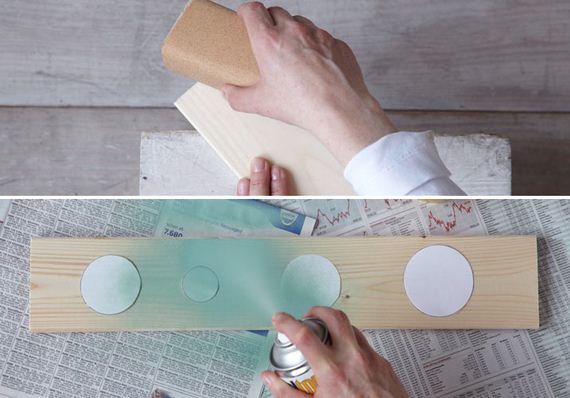
Step 1:
Saw the boards to the desired length (here 50 cm) or get them cut at the hardware store. Smooth the edges with sanding block and sandpaper.
Step 2:
Put the wooden spools on paper and outline the bases, cut and place the circles on the boards, fix it with a piece of double-sided tape. Spray on the board and remove the paper circles. The glue will stick better later. Allow to dry.
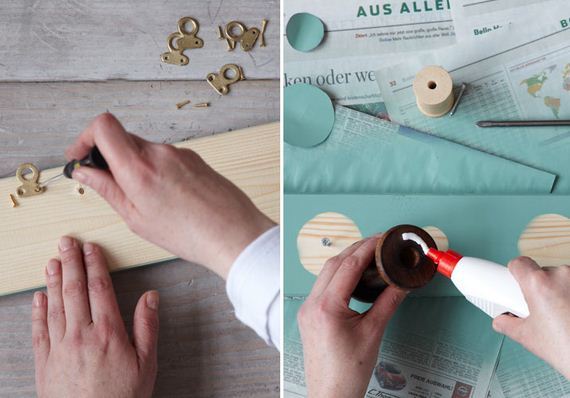
Step 3:
Screw pegs on the backside of the board.
Step 4:
Apply glue on the wooden spools and stick on the boards. For additional support screw bolts through the holes of the spools into the boards. So you can hang a heavy purse on the hook.
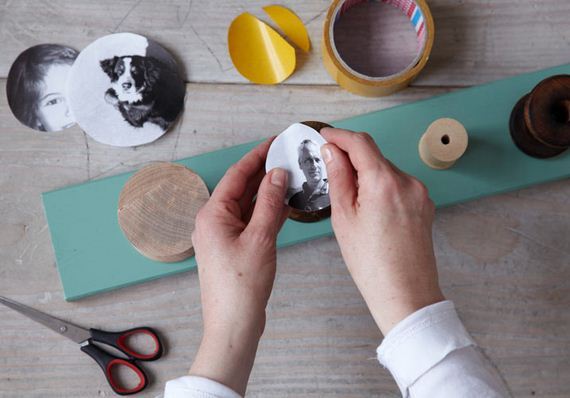
Step 5:
Cut out photos in the diameter of the wooden spools and glue them with a double sided tape.
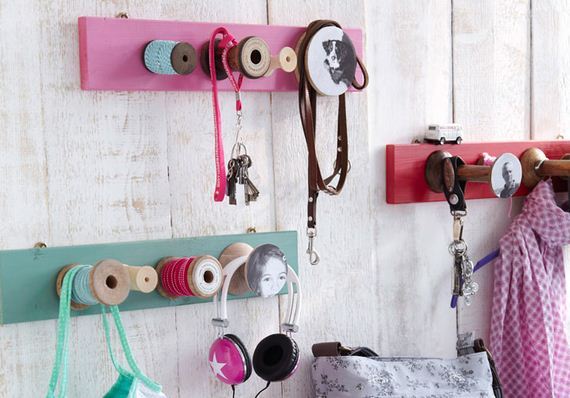
The colored hook strips not only jazz up the hallway, but they also offer a space for jackets, bags, lanyards and all sorts of things that should not go missing!
 12thBlog Hot Celebrity Photos